


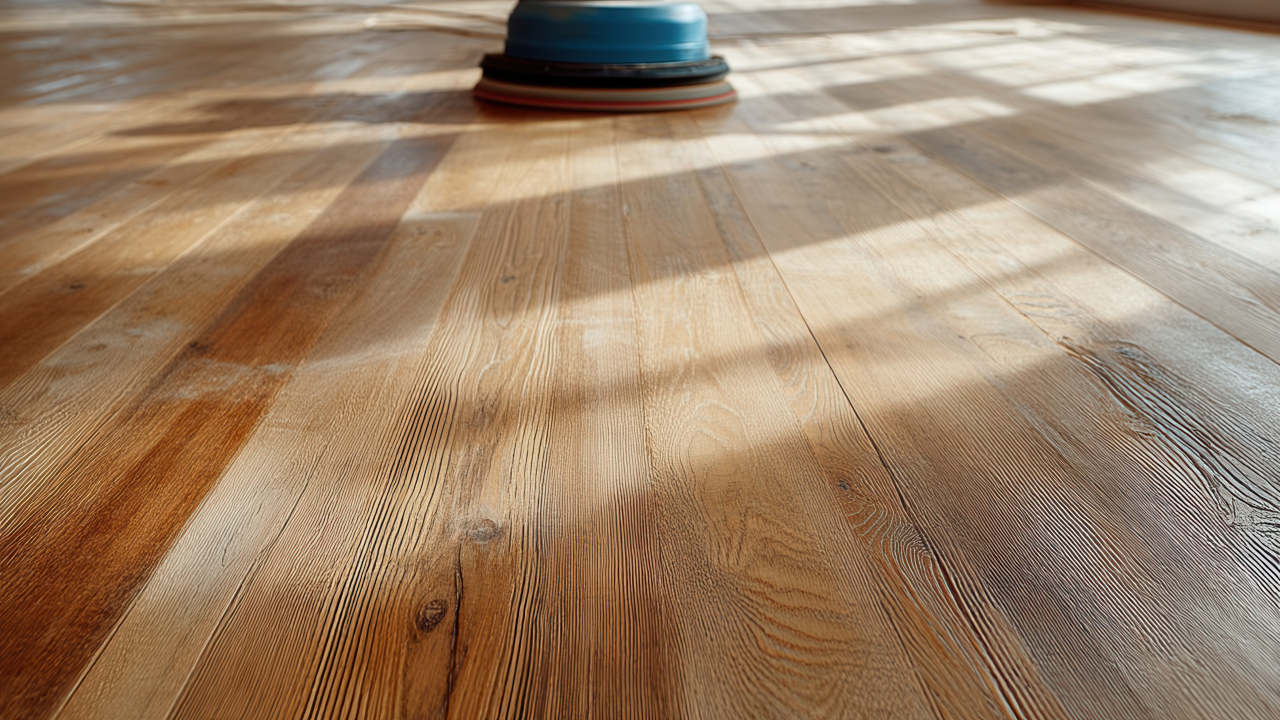
One of the greatest virtues of authentic hardwood flooring is its long-term durability. Unlike surface finishes that must be discarded when worn, real wood can be sanded down, re-stained, and sealed multiple times across its lifespan. Refinishing tired, scratched, or discolored wood brings back its original elegance while giving you the flexibility to update your home’s color scheme. Understanding the refinishing journey helps you decide when it is time to renew your floors and what to expect throughout the process.
Assessing Your Floors: Screen-and-Recoil vs. Full Sanding
Before starting a full refinishing project, determine how deep the wear goes. If your hardwood floor has light surface scratches and a dull finish—but no deep gouges or bare wood exposure—you might only need a process called "screening and recoating." This involves lightly buffing the top protective finish and applying a fresh topcoat, saving both time and money.
However, if your floors show deep scratches, water staining, fading from sunlight, or grayed areas where the bare wood is exposed, a full sand and refinish is necessary. This strips away all old polyurethane and stain, taking the floor down to raw, untouched wood.
Is Your Wood Ready to Be Sanded?
Not all wood floors can be sanded infinitely. Solid hardwood floors, typically 3/4-inch thick, can usually be refinished 4 to 6 times over their lifetime.
Engineered hardwood floors, which feature a real wood veneer over a plywood core, depend heavily on the thickness of that top layer (wear layer). Floors with a thin wear layer (under 2mm) can generally only be screened and recoated, whereas engineered planks with a thick wear layer (4mm or more) can safely undergo a full sanding cycle.
The Refinishing Process Step by Step
Full refinishing follows a careful sequence to deliver a smooth, long-lasting surface:
Coarse to Fine Sanding: Heavy drum sanders and edge sanders strip old finish and smooth out wood imperfections. Progressively finer sandpaper grits eliminate deep scratches and refine the grain.
Dust Containment and Cleanup: Dustless sanding technology uses high-powered containment vacuums to catch airborne particles, ensuring a cleaner environment during the project.
Staining (Optional): Once the wood is bare, you can keep its natural tone or apply a custom stain—ranging from warm amber shades to rich walnuts or modern greiges.
Protective Finish Application: Multiple topcoats of water-based or oil-based polyurethane are applied. Water-based finishes dry quickly and remain clear, while oil-based polyurethanes add a warm, golden glow over time.
Protecting Your Investment After the Sanding
Once your refinished floors have cured, simple maintenance habits will preserve their beauty for decades. Place breathable felt pads under all furniture legs, keep pet nails trimmed, use entry mats to collect dirt and grit, and clean with products formulated specifically for hardwood surfaces.
Refinishing classic hardwood preserves your home’s structural character while elevating its modern appeal. If you are ready to evaluate your existing floors or explore finish options, Contact us for more information.


